

This is in continuation of our series of articles on Test Lab Module in QC and it is the last article of series. In the first article we saw how to create a test set, move scripts from test plan and run them manually, in the second article we discussed how to log defects from test lab module
In this article we’ll see how we can run automated QTP scripts from Test Lab in QC.
Before you try to run your automated scripts from test lab, you need to make sure that your tool (QTP/ WinRunner ) is connected with Quality Center. Here are the steps to connect QC to QTP.
First you need to ensure that Allow other Mercury products to run tests and components option present under Tools > Options > Run in QTP is checked.
If you are running the tests on the same computer where you have QC client installed, then you will need:
- QTP Connectivity Add-In
- QTP Add-in
If you are running the tests on the different computer than where you have QC client installed, then you will need:
- QTP Add-in where QC client is installed.
- QTP Add-in and QC connectivity Add-in where QTP is installed.
QC connectivity can be found at QC server URL > ‘Add-Ins Page’ link > ‘QC Connectivity’ link > ‘Download Add-in’. QTP Add-in can be found at QC server URL > ‘Add-Ins Page’ link > ‘More QC Add-ins’ link > Download and install QTP Add-in according to its version.
We will now see how to execute the automated test scripts from the test lab module. (Click on the individual images below to view them in full size, press ‘Esc’ key to return)
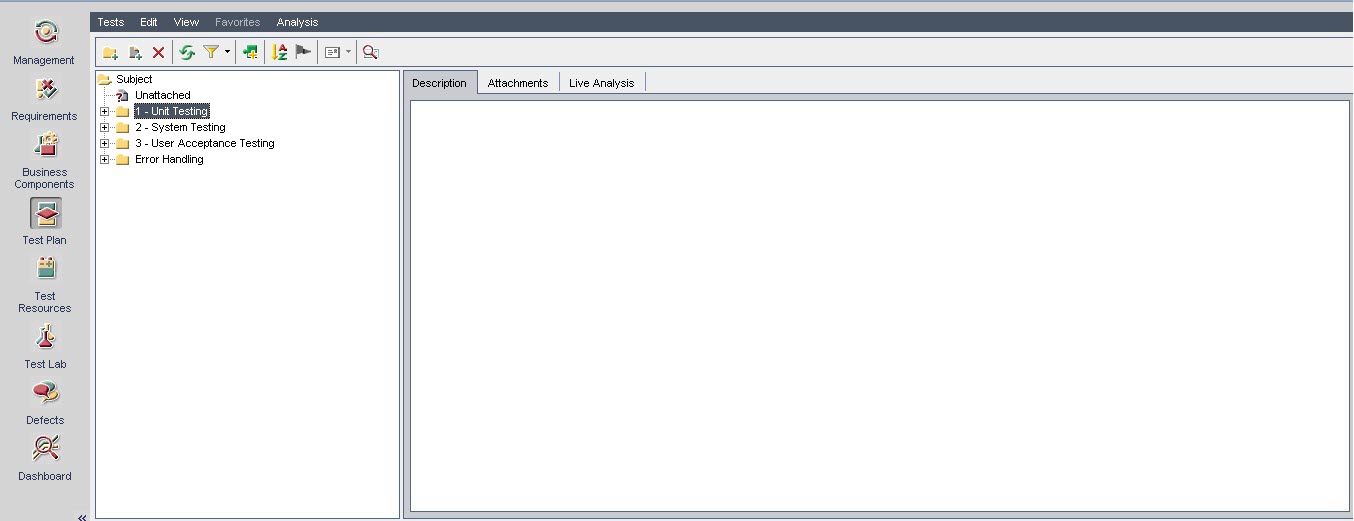
Navigate to Test Plan module in QC.
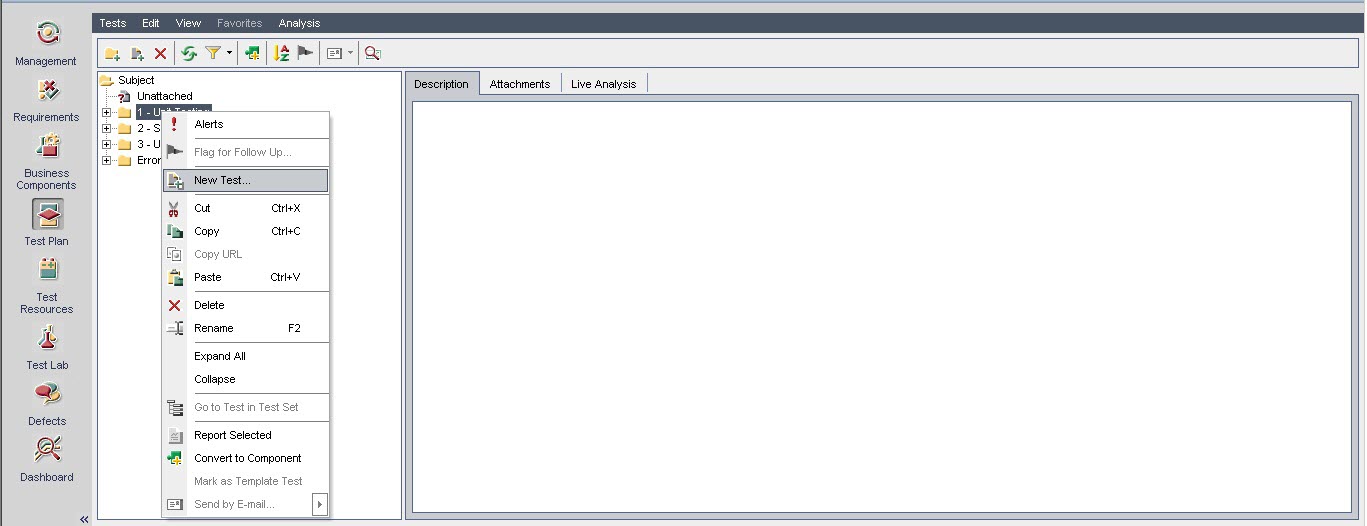
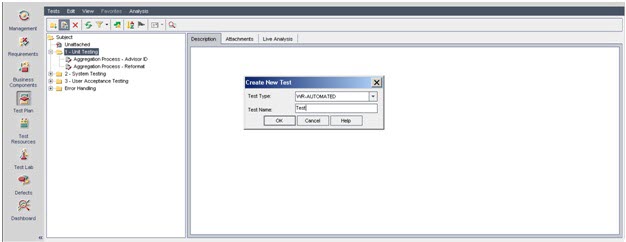
Create a folder under the root folder and right click to create a new test as shown below.
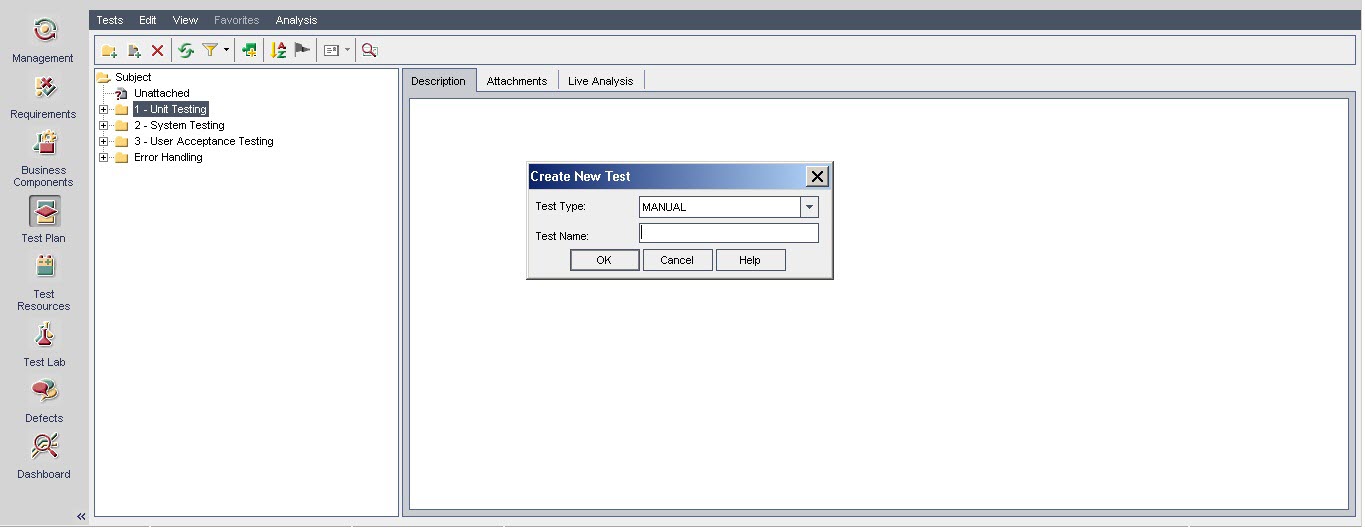
Once New test option is clicked a pop up appears as shown below. In the Test Type box, select QUICKTEST_TEST to create a Quick Test Professional test, or select WR-AUTOMATED to create a Win Runner test.
In the Test Type box, select QUICKTEST_TEST to create a Quick Test Professional test, or select WR-AUTOMATED to create a Win Runner test.
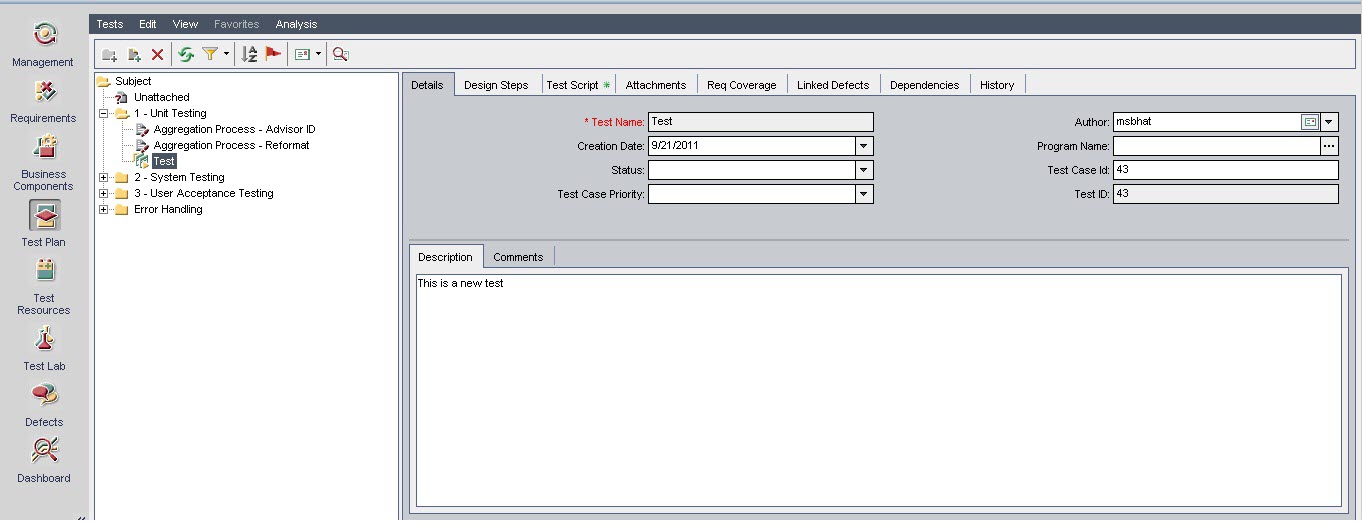
Once Test Name is provided and user clicks on OK.It takes to the next step where we need to provide the description as shown below.
Once the user clicks on OK, a test is created as shown below.

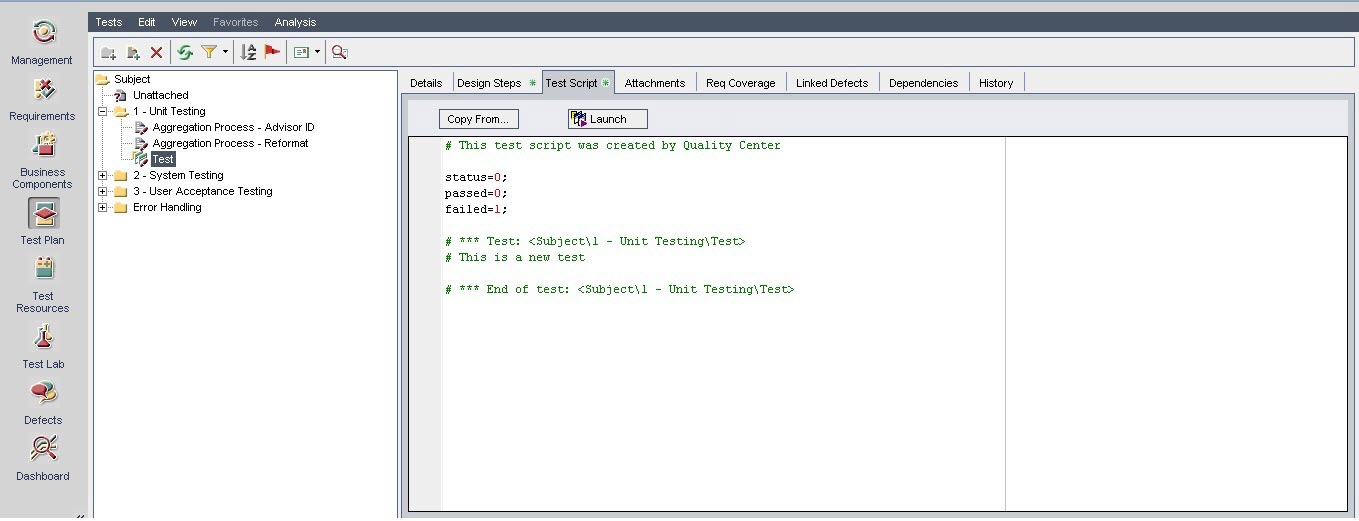
Once the automated test case is created. Click on Test Script tab present on the right hand side.A script is generated based on the design steps of the test case as shown below.
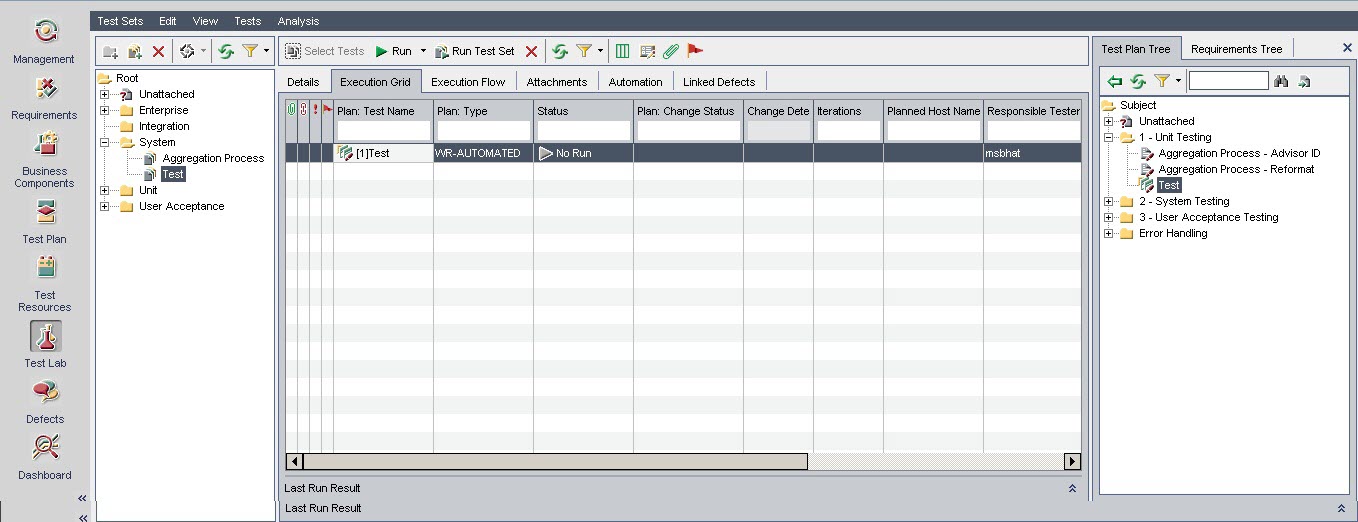
Navigate to Test Lab module present on the left hand side of the application.
Navigate to the folder created and add a test set “Test†as shown below.

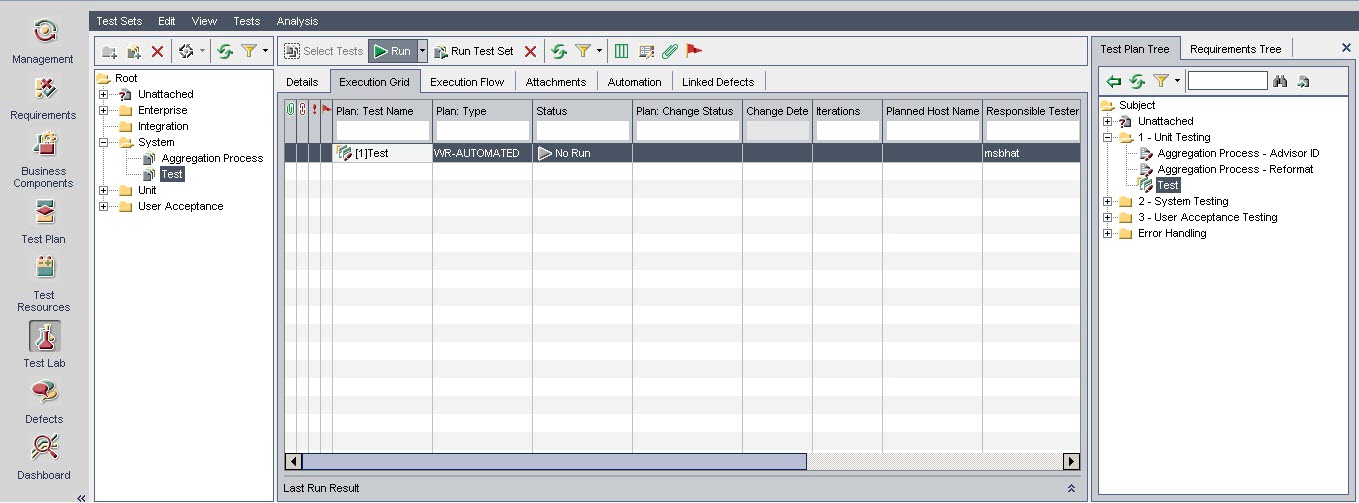
Right click and select the option “Select tests†which open a test plan tree as shown below.

Select the tests from the test set by clicking on the left arrow in the test plan tree present on the right hand side.

The selected test will appear in the test set.

Select the required test case and click on the “Run†button present on the top, below the menu bar.
The automatic runner pop up opens up, where the test to be run will be selected. Then click on Run.
This connects to the automation tool which is integrated with the QC application and gives us the result of the run for the particular test case.
When a test has finished running you can view the test results in your selected testing tool
- To view the test results in Quick Test Professional, click the ‘Launch Report’ button.
- To view the test results in Win Runner, click the ‘View Report’ button.


")


")


 initiative
hi,
pls provide the tutorial for how to log the defects.
Thanks in advance.
Posted by ravi | May 22, 2012, 7:18 pm