This is part 3 of our series of articles on Test plan module in Quality Center. In this part we “ll see how we can create tests folders and tests under Test plan module.
Step 1: Place your mouse cursor on the “Subject†folder in Test Plan.
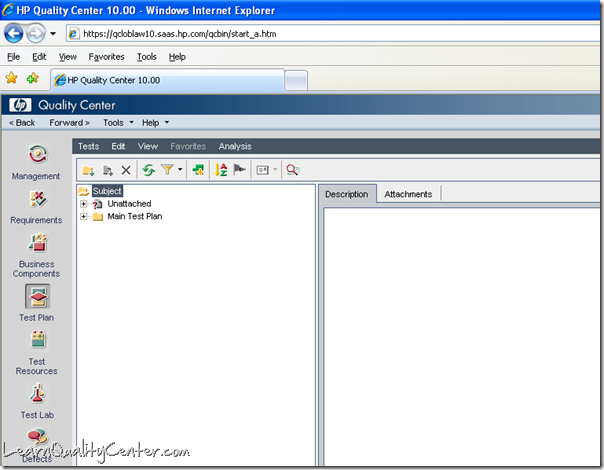
Step 2: Click on the New Folder button , to create the main folder for your AUT.
Step 3: This will open a dialog box “New Folderâ€.

Step 4: Type the folder name that you wish in the “Text Field†and click “OK†to save the folder name.

In the above screenshot, a generic name as “AUT†has been used. You could use any name depending on the application or system you are testing. (for example: Flight Reservation System, Banking Software, Order Management system, Hospital Management, Library management software etc).
(Note for all the dialog boxes: Clicking on “Cancel†button or “X†(Close) button would close the relevant dialog box and the action will not be performed (in this case, the test folder will not be created. Clicking on “Help†button would open the “HP QC Help Windowâ€)
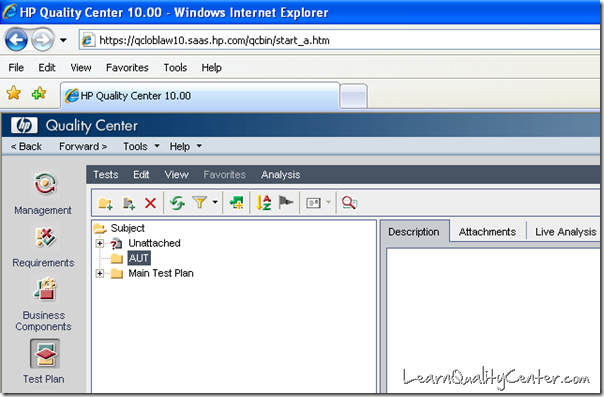
After clicking on “OKâ€, a test folder called “AUT†would be created under “Subject†folder as in below screenshot.
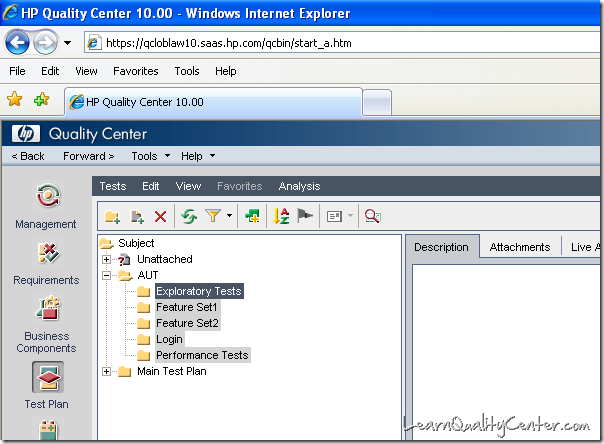
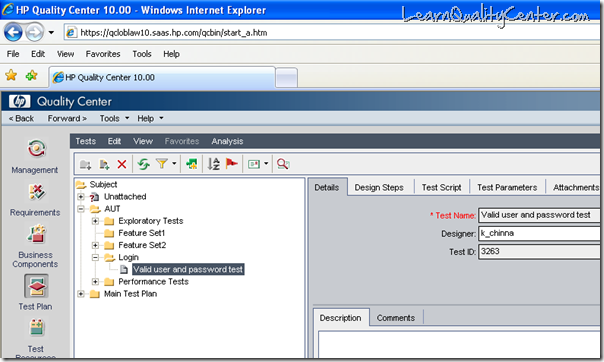
Step 5: Repeat step 2 to 4, to create the sub folders as you wish, to group different types of tests together. (For example, see the following screenshot)
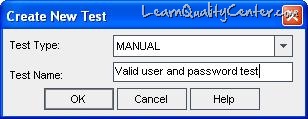
Step 6: Click on the “New Test†button  to create test in the selected test folder. By Default “Test Type†selected will be “Manualâ€. Type appropriate “Test Name†in the edit field and click “OKâ€.
A test with Manual Test Icon ![]() will be created.
will be created.




 initiative
Discussion
No comments yet.